Frothy Esquimo Treat!

Caleb Ryan
| 11-08-2026
 · Cate team
Greetings, Lykkers! Creamy, cold, chocolatey, and wonderfully frothy, homemade esquimos are an easy drink to prepare when something refreshing and indulgent is on the menu. This Mexican-style beverage combines milk, evaporated milk, powdered milk, sugar, cocoa, and ice to create a thick, chilled drink with a texture that sets it apart from an ordinary chocolate milk.
The name may sound unusual, but the preparation is surprisingly simple. The secret is in the final whipping step, which gives the drink its signature layer of foam. Served immediately, an esquimo has a cold, creamy texture with tiny bits of ice that make every sip extra refreshing.
Ingredients for Homemade Esquimos
For the Esquimo
- 2 cups ice cubes
- ½ cup evaporated milk
- ¾ cup whole milk
- 2 tablespoons powdered milk
- ¼ cup granulated sugar
- 3 tablespoons cocoa powder
For Serving
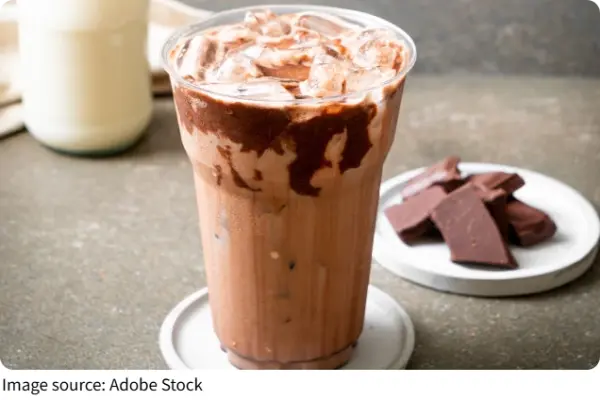
- Melted milk chocolate, as needed
- Milk chocolate pieces, for decoration
The cocoa provides the main chocolate flavor, while evaporated milk and powdered milk add extra richness. Adjust the amount of sugar slightly according to personal preference, especially if a sweeter chocolate is used for decorating the glasses.
Step-by-Step Instructions
Step 1: Prepare the Chocolate Mixture
- Before blending, gather all the ingredients and prepare the glasses.
- If using melted milk chocolate around the rim, melt a small amount of chocolate gently and allow it to cool slightly so it remains fluid but isn't extremely hot.
- For a decorative finish, dip the rim of each serving glass into the melted chocolate. Let the excess drip away, then place the glasses aside while preparing the drink.
Step 2: Blend the Ingredients
- Place the 2 cups of ice cubes into a blender.
- Add the ½ cup evaporated milk, ¾ cup whole milk, 2 tablespoons powdered milk, ¼ cup sugar, and 3 tablespoons cocoa powder.
- Blend for approximately 2 minutes, but don't aim for a completely smooth mixture at this stage.
- The goal is to partially break down the ice while leaving some small pieces remaining. This gives the drink its characteristic chilled, slightly icy texture.
- If necessary, stop the blender briefly and scrape down the sides so the cocoa is incorporated evenly.
Step 3: Create the Signature Froth
- Pour the blended mixture into a large bowl or suitable container.
- Using an electric milk frother, whip the mixture for approximately 3 minutes. A regular whisk can also be used, although it will require more effort.
- Continue whipping until the drink becomes noticeably frothy and the remaining ice pieces have mostly broken down.
- The foam is an important part of an esquimo. Rather than simply blending everything until smooth, this extra whipping step creates the light, airy texture associated with the drink.
Step 4: Prepare the Glasses
- Give the mixture a final stir and immediately pour it into the prepared glasses.
- If the chocolate-rimmed glasses have been decorated, take care when pouring so the drink doesn't disturb the chocolate.
- For an extra chocolate-forward presentation, drizzle a little melted milk chocolate over the top.
Step 5: Add the Finishing Touches
- Finish each glass with a few small pieces of milk chocolate.
- A light dusting of cocoa powder can also be added for a simple presentation. For a more dessert-like appearance, place a few chocolate pieces directly on top of the foam.
- Serve the esquimos immediately while they are cold and frothy.
Tips for the Best Homemade Esquimos
Don't Completely Melt the Ice
The ice should remain partially intact after the first blending stage. Completely liquefying the ice can make the drink thinner and remove some of the texture that makes an esquimo distinctive.
Whip After Blending
The second step is what creates the characteristic foam. Even if the mixture already looks creamy after blending, spend the extra few minutes whipping it.
Adjust the Sweetness
The listed sugar quantity creates a pleasantly sweet chocolate drink, but the amount can be adjusted. Start with the recommended measurement and taste the mixture before serving if you prefer more or less sweetness.
Serve Immediately
Esquimos are best enjoyed shortly after preparation. The longer the drink sits, the more the ice melts and the foam settles.
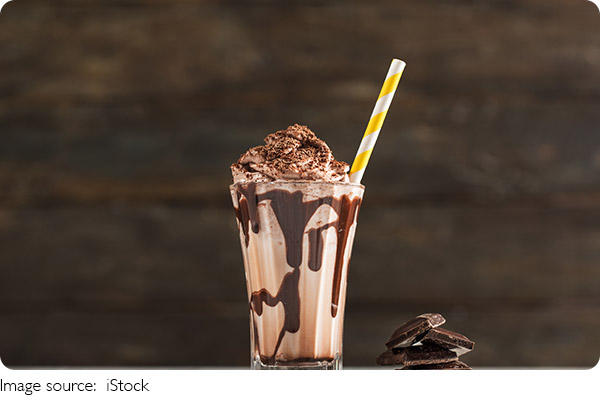
Homemade esquimos are proof that an impressive drink doesn't need a long ingredient list or complicated technique. Milk, cocoa, sugar, and ice create the foundation, while powdered and evaporated milk provide a richer texture. The real finishing touch comes from whipping the blended mixture until it becomes beautifully frothy. Pour it into chocolate-decorated glasses, add a few pieces of milk chocolate, and this simple Mexican-inspired drink becomes an irresistible cold treat that's ready in minutes.