Sweet & Spicy Grilled Wings

Amit Sharma
| 30-10-2026
 · Cate team
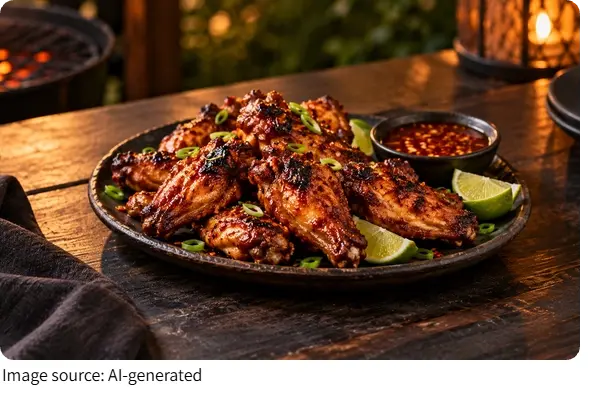
Sweet-and-spicy grilled wings are a satisfying choice for casual gatherings or a relaxed meal at home. The combination of gentle sweetness, chili heat, and a smoky aroma creates a bold flavor without requiring complicated preparation.
A well-balanced sauce coats each piece, while careful grilling helps develop a lightly crisp exterior and juicy center. All it takes is a simple seasoning mix, a homemade glaze, and a little patience.
Ingredients
This recipe uses everyday seasonings and a homemade glaze. It takes about 15 minutes to prepare and 35–45 minutes to cook. For the wings, you will need:
- 1.2 kg chicken wings
- 1 tbsp olive oil
- 1 tsp smoked paprika
- 1 tsp garlic powder
- ½ tsp black pepper
- 1 tsp salt
Prepare the sauce before starting the grill. For the sauce, you will need:
- ½ cup tomato sauce
- 3 tbsp honey
- 2 tbsp brown sugar
- 1 tbsp apple cider vinegar
- 1–2 tsp hot chili sauce, to taste
- 1 tsp Worcestershire-style vegetarian sauce
- 1 garlic clove, finely minced
- ½ tsp smoked paprika
This makes 4 servings.
Prepare the Wings and Sauce
Start with the wings, then make the glaze so it is ready before the grill heats up:
1. Dry the wings. Pat the chicken wings thoroughly with paper towels. Removing surface moisture helps them brown more effectively during cooking.
2. Season evenly. Place the wings in a large bowl and add the olive oil, smoked paprika, garlic powder, salt, and black pepper. Toss until every piece is coated.
3. Mix the glaze. Combine the tomato sauce, honey, brown sugar, vinegar, chili sauce, vegetarian Worcestershire-style sauce, minced garlic, and smoked paprika in a small saucepan.
4. Simmer gently. Place the saucepan over low heat and stir for five to seven minutes, until the sugar dissolves and the mixture thickens slightly. Remove it from the heat and set aside.
Grill Until Golden and Juicy
The wings cook over medium heat with a cooler zone nearby, and the glaze goes on only at the end:
5. Prepare the grill. Preheat the grill to medium heat. Keep one area away from the strongest heat as a cooler zone, so the wings can finish cooking without burning.
6. Arrange the wings. Place the seasoned wings on the grill in a single layer, leaving room between pieces for heat to circulate.
7. Cook gradually. Grill for approximately 25–35 minutes, turning every few minutes so the wings brown evenly. Move them to the cooler side when the skin begins to darken too quickly.
8. Check doneness. Chicken should reach an internal temperature of 74°C before serving.
9. Apply the glaze. During the final five to eight minutes, brush the wings with the prepared sauce. Turn them frequently and add another thin layer as needed. Watch carefully because the honey and sugar can burn over direct heat.
10. Rest briefly. Transfer the cooked wings to a clean serving platter and let them rest for a few minutes before serving. Add any remaining sauce only if it has been kept separate from utensils used on undercooked chicken.
Tips for a Better Barbecue Flavor
The best results come from steady heat rather than rushing the cooking process. Very high temperatures can darken the outside before the inside is fully cooked.
For a stronger smoky character, use a grill with a lid and follow the manufacturer's instructions for safe use. A little smoked paprika also adds a smoky note when cooking indoors or when a charcoal flavor is not available.
Keep the sauce balanced. Honey and brown sugar create a sticky coating, vinegar adds brightness, and chili sauce brings heat. Start with a modest amount of chili and add more after tasting the glaze. The sauce should complement the seasoning rather than overpower it.
Serving Suggestions
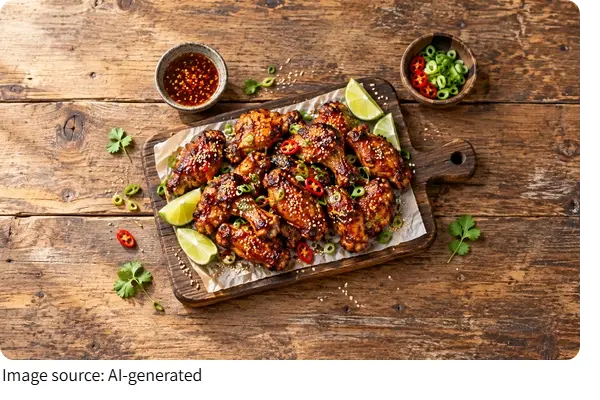
Serve the wings hot with sliced cucumber, carrot sticks, or a crisp green salad. Steamed corn and roasted potatoes also go well alongside. A simple yogurt-based dip provides a cool contrast to the spicy glaze.
For a gathering, prepare the sauce ahead of time and season the wings before heating the grill, so only the grilling is left when guests arrive. Keep raw chicken and its utensils separate from cooked food throughout.